This post contains affiliate links, we'll earn compensation if you make a purchase using them at no additional cost to you 😊
Making your own electric bike with a guide is sustainable and affordable. But, as a cherry on top, you’re on the right path if you have a DIY electric bike guide like the one shared below.
With the proper knowledge of assembling the parts, you can make your e-bike. Also, adding extra accessories to your conversion kit would make your bike look more professional.
After multiple trials and errors, I found a successful way to assemble a DIY e-bike. Hence, follow the detailed guide shared below.
Steps to install components like Wheels, End brackets, Carriage, Brake levers, Throttle, Battery, and other electronic components are included in the guide to help you get through the process.
Additionally, if you find buying these components individually expensive, I have shared a few budget-friendly electric scooter recommendations you can go for.
So, to learn how to make your own electric bike home, keep reading below!
How to Make an Electric Bike By Yourself In 2025 (Step-By-Step guide)
You can easily ace making your electric bike just by choosing a proper DIY electric bike kit and some necessary tools.
So, to get started, let’s roll into the step-by-step guide given below without any further ado.
Step 1: Select a perfect DIY kit for E-bike
Many e-bike DIY kits are available in the market. You need to figure out your preferred type of e-bike and select your kit according to your needs. By needs, we mean which kind of road you use, your desired speed and range, etc.
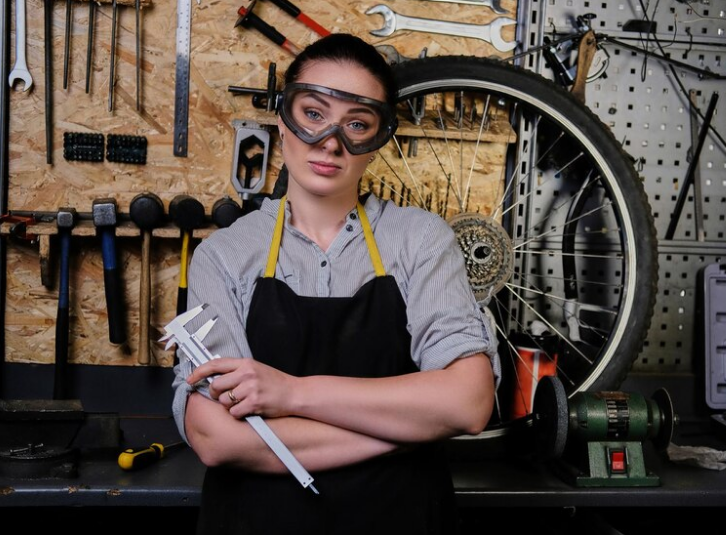
The DIY kit is available for different types of e-bikes that users prefer. The choice of style differs from person to person. That’s why manufacturers make these kits by considering all sorts of styles.
Also, three types of e-bikes are used by people. These types consist of mountain e-bikes (for off-road rides), commuter e-bikes (for city rides), and recreational e-bikes (es according to the roads).
Step 2: Put the material in the DIY kit Together
To start working on the main procedure of assembling the accessories, put all of them together.
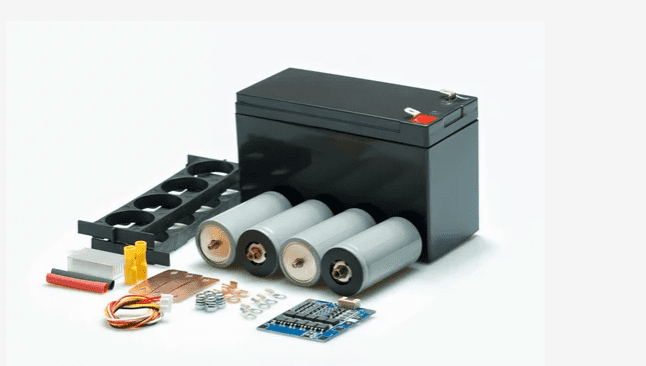
Try attaching them as given in the manual provided by the company. You can connect these parts with the help of screws and bolts.
For rough use, advanced DIY kits are an option. They have extra reliable tools like a powerful battery, motor, and advanced electronic components. But these advanced kits are expensive to buy.
You can assemble your e-bike in a foldable way to make it portable and mobile. That way, you can carry it anywhere or in other transportation.
Step 3: Installing the wheels
The first step of assembling the e-bike is attaching the wheel to the bike rods. You can use the manual to learn how to connect the spare parts to the wheel.
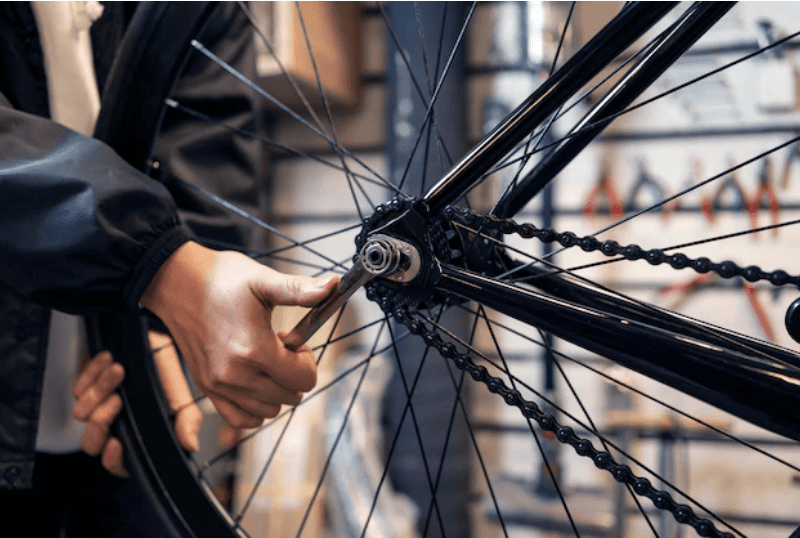
Initially, you have to assemble the frame of the e-bike. Then, you start attaching wheels, the motor, and wirings to it. Some electric bikes have motors on the front wheel and some on the backside wheel.
Step 4: Installing the end bracket and carriage
Once you are done framing the e-bike, you have started attaching the extra accessories to the e-bike—extra accessories like an end bracket and a carriage in the back.
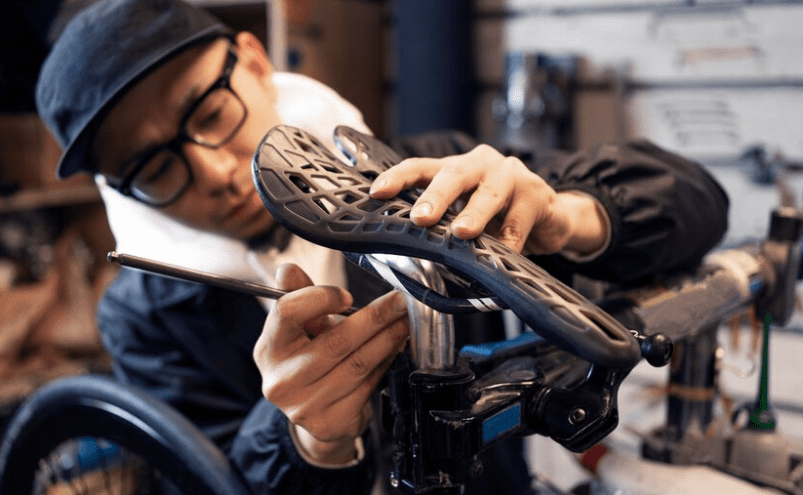
An end bracket is installed to fit the rider’s seat on the e-bike properly. It makes the seat stay stable and firm. And a carriage is added to the e-bike in the back of the bike to carry things while riding.
Step 5: Installing the brakes and the throttle
If you are converting your old bike, you have removed all the parts, including its brakes and throttle. But, in any way, be it a new or old bike, fix the brakes first and then move on to fixing the throttle next.
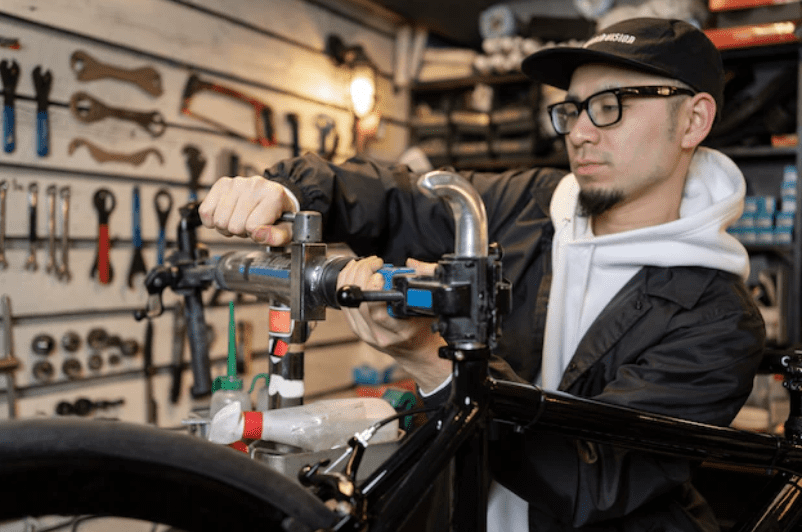
You adjust your controls once you have enough experience with how you want them. The brake cables, throttle grip, everything matters when choosing your DIY kit.
Make sure that you are fixing the screws properly on the brakes. It determines your safety, too.
Step 6: Installing the electronic battery & other Components
The e-bike DIY kit batteries are heavy and complex to attach. You have to connect these batteries in a way so it doesn’t trouble you while riding.
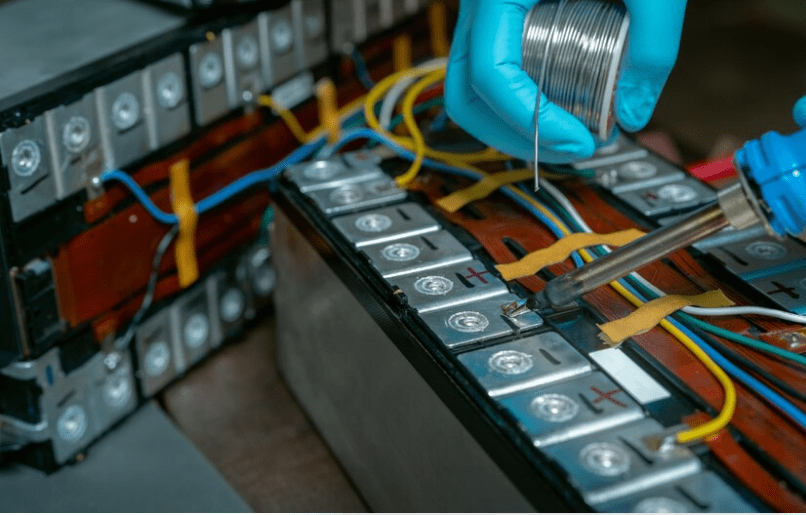
You have to attach the batteries in a proper sequence technically. These batteries should be fixed from positive to negative wires.
Step 7: Your E-Bike is ready to roll
After all of this dedicated procedure, you are good to go!
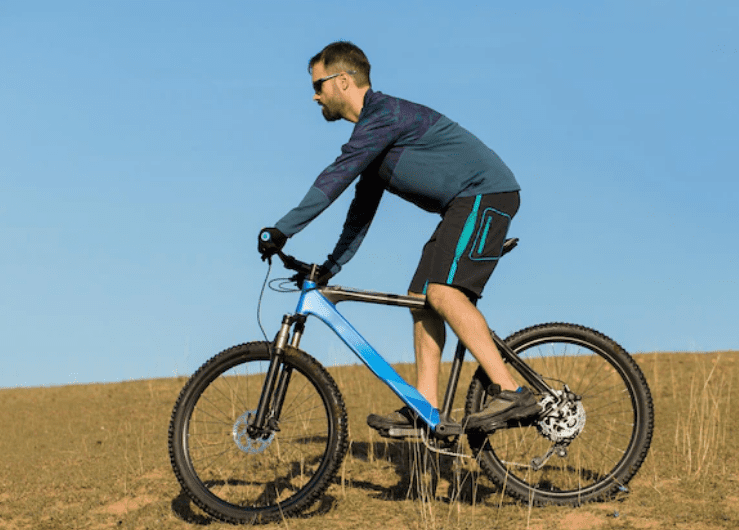
Try riding it at a lower speed on your first go. You can increase your speed eventually once your confidence has risen.
Keep a firm grip on the throttle when riding, and always have the controller and brakes in your hand.
Keep your e-bike in check for necessary occasional fixing. So that your e-bike doesn’t give you any trouble while riding.
My experience with DIY electric bikes
So, here’s my experience with DIY electric bikes. It really boils down to what you’re looking for.
If you’re already familiar with bikes, have some tools lying around, and don’t mind getting your hands dirty with some tweaking and repairing, you can build up a pretty decent electric bike.
However, you have to be very careful about getting good-quality e-bike parts from a reliable brand.
The thing is, I struggled with the issue of navigating the world of online options for displays, batteries, and other parts. It can be a bit tricky, especially if you’re not familiar with the brands.
In Contrast, big bicycle brands offer pre-built e-bikes with integrated systems. They’re a bit more plug-and-play and don’t require much maintenance.
These popular brands you find online have large service networks, making it easier to deal with warranties and replacements.
They often use systems from trusted brands like Bosch and Shimano, ensuring better quality control and software support. The motors are integrated into the frame, providing a more natural pedal-assist feel than kits.
Ultimately, it’s a balance between your skills, time, and expectations. I’ll be honest: there’s a noticeable price difference, but it’s all about what works best for you.
Can I build my own electric bike?
All you need is a battery, a conversion kit, and a bike that is in good operating order. This is a really easy and quick operation when you use a conversion kit.
Additionally, this can be a cheap project if you use internet shopping to get the greatest price on the kit and reuse an existing bike.
Choosing The Right Components For DIY Electric Bike
When you’re building your own electric bike, it’s important to carefully consider each component you choose. Here are some key components to keep in mind when selecting parts for your e-bike.
1. Motor
This is the most crucial part of your electric bike because it provides the power that propels you forward. There are two types of motors to choose from: hub motors or mid-drive motors. Hub motors are easier to install and require less maintenance, while mid-drive motors offer better performance and efficiency.
2. Battery
Another crucial component to consider is the battery. It provides power to your motor, so you need to choose a battery with the right capacity and voltage for your e-bike. Lithium-ion batteries are a popular choice because they’re powerful yet lightweight.
3. Controller
The controller is responsible for managing the flow of power from your battery to your motor. It’s important to select a controller that’s compatible with both your motor and battery.
4. Display
Although optional, a display can be helpful for monitoring important information about your e-bike, such as speed and battery level. When selecting a display, make sure it’s compatible with your controller and has the features you need.
User experiences with building DIY electric bikes
Here are a few user experiences from all around the world with building DIY electric bikes:
How much does it cost to build an eBike from scratch?
The cost to build an electric scooter from scratch can differ from person to person based on the quality, durability, and performance of the components (parts) you select.
However, to give you an estimated amount of the entire cost, it can be anywhere between $300 to $2000 or higher (if you wish to build a good quality e-bike).
For a precise understanding, here are the key components that you need to build an e-bike from scratch:
1. Bike Frame:
As the foundation of your bike, it’s critical to select a high-quality frame that can sustain the weight and power of the electric parts. A frame may cost anywhere from $100 to $500, depending on its kind and caliber.
2. Motor:
The motor is the vital component of an electric bike. Thus, it’s important to select one that will work well for you. The cost might vary from $100 to $1,000 or more, contingent upon the power and efficiency of the motor.
3. Battery & Charger:
Since your motor runs on a battery, it’s critical to select a high-quality battery with the necessary power and range. Good quality batteries can cost up to $800 or more, depending on quality and capacity.
And for chargers, you can get a good quality charger that costs upto $150 based on the battery type, capacity, and quality of the charger.
4. Regulator Controller:
To guarantee smooth and effective functioning, you’ll need a high-quality controller that controls the power flow to the motor. Controllers can cost anywhere around $500 or more, depending on the quality and power output.
5. Miscellaneous Components:
A throttle, brakes, wheels, tires, and other accessories are also necessary. As per their performance and quality level, these components differ in price significantly.
Note: All things considered, creating an electric bicycle from scratch may be a gratifying and enjoyable undertaking, but it does call for some basic understanding of electronics and bicycle mechanics.
Alternatively, for a more affordable option, buy an electric bike kit that comes with everything you need if you don’t feel comfortable assembling your own.
Is It Cheaper To Build or Buy An eBike?
An e-bike requires a lot of patience and effort to build. To construct one, it may take a few days or a few weeks.
Furthermore, the cost may be really high. For instance, the frame and the battery are the first components you’ll require.
The battery is around $500 or above, and the frame is about $800 to $1000. Just these two things will set you up with nearly $1500 if you buy every component individually!
It can cost anywhere from $1800 to $2000 for a bike of reasonable quality that will function well with an electric conversion kit.
An e-bike kit typically costs $1,000 and comes with a battery, controller, and other installation-related parts. Usually, the motor is the most expensive part of the e-bike kit.
Related Read:
Wrapping Up! DIY Electric Bike
Creating your own DIY electric bike with the guide above is a sustainable option offering customization and a sense of achievement.
The step-by-step process involves assembling key components, such as wheels, brakes, and batteries, even for beginners.
The guide emphasizes selecting a suitable DIY kit tailored to your preferred e-bike type, whether off-road or city. Despite the benefits, navigating online options for parts can be challenging, requiring attention to reliable brands.
Alternatively, ready-made e-bikes from established brands, like the Aventon Level and Troxus Sky Hopper, offer a plug-and-play experience with value for money.
FAQs
Amazon.com is the best online platform for buying DIY kits.
Commuter e-bikes are good for commuting on urban streets.
The Nakto mini cruiser is the best top-ranking e-bike in the market.
Yes, DIY kits can convert an old electric bike into a new, modified one.


